Drilling Guidelines for Acrylic (Perspex) & Polycarbonate (Lexan®)
If you’re working with Acrylic (Perspex) or Polycarbonate (Lexan®) sheets or display components, knowing how to drill them correctly makes the difference between a professional finish or cracked, chipped and ruined pieces. At Regency Plastics, we supply high-grade acrylic and polycarbonate across Australia and we’ve pulled together these best-practice guidelines to help you get great results.
Why proper drilling matters
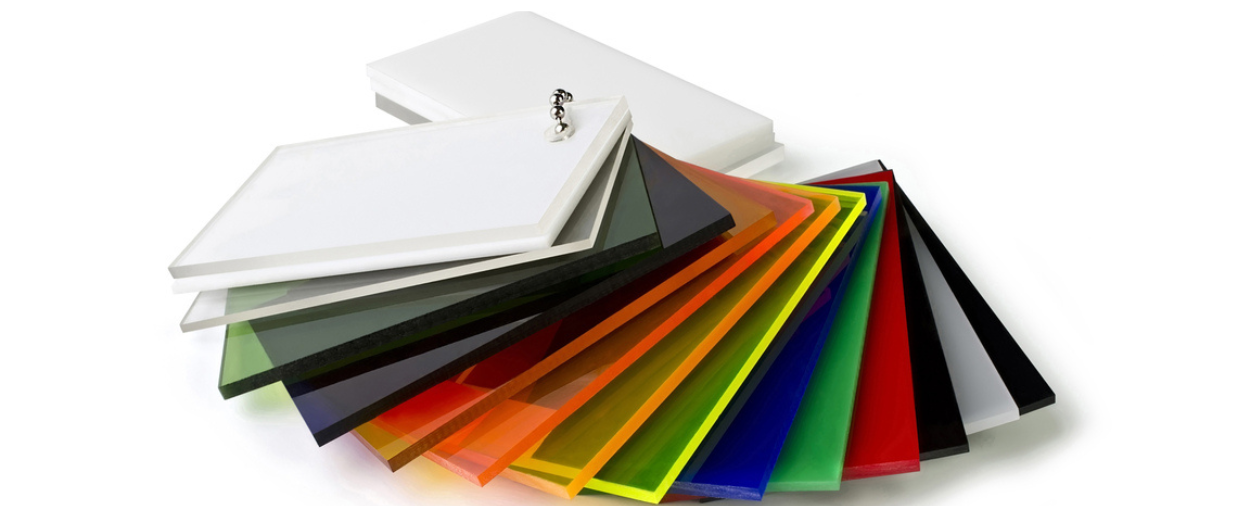
Acrylic and Polycarbonate are fantastic materials: lightweight, clear, strong and easier to fabricate than glass. On our website, you’ll see we supply sheets, rods and custom-cut products.
That said, these plastics are not the same as timber, steel or masonry when it comes to drilling. They react differently under heat, pressure or vibration. Mistakes at the drilling stage can lead to star-cracks, chipped holes, rough edges or even structural failure of the piece. Several independent guides highlight key issues: for example, drilling too close to the edge increases the crack risk.
By following sound technique you get smoother holes, better fixings, longer-lasting results and fewer wasted panels.
Materials in focus
Acrylic (Perspex® / Plexiglass):
- Supplied by Regency Plastics in sheets, rods and custom shapes.
- Optical clarity, UV-stable options, used for signage, shop fronts, display cases, and machine guards.
Polycarbonate (Lexan®, Makrolon®):
- Much higher impact resistance than acrylic, tougher in applications where durability counts.
- Slightly more ‘forgiving’ in drilling but still requires correct handling to avoid damage.
Pre-drilling preparation
Here are the key steps you should implement before drilling begins.
- Leave the protective masking or film on the sheet until after drilling. The masking provides a degree of protection from scratching and helps mark out hole positions. From our own practice at Regency, we recommend this.
- Mark your hole positions accurately. Use a marker or apply a small piece of masking tape and mark the hole location. One guide recommends at least a 15 mm distance from any edge for acrylic sheets to reduce cracking risk.
- Support the sheet from beneath. Place a sacrificial timber board or MDF directly under the hole area. This helps prevent breakout or chipping as the drill bit exits the material. (We include this in our guidelines at Regency.)
- Fix or clamp the panel so it doesn’t shift mid-drilling. A smooth, solid work surface helps.
- Select the correct drill bit. Our guideline recommends blunt HSS metal bits for the best results. There are some industry references that suggest that bits designed for plastics or tipped with carbide/PCD give better results, especially for polycarbonate.
Recommended drilling technique
Use the following process for clean, crack-free results:
- Fit the selected bit into the drill. Ensure it is blunt (as overly sharp bits can cause tear-out in acrylic).
- Set the drill speed to a moderate to slow rate. High speed generates heat and may melt or distort the plastic. Many guides say slower is better for plastics.
- Place the panel (with its protective film still on) on the sacrificial timber board, clamp it securely and position your drill perpendicular to the material.
- Start drilling gently. Apply light, steady pressure. Let the bit do the work; forcing the bit increases the risk of cracks.
- As the bit nears exit, reduce pressure slightly or consider pausing to prevent chipping the underside. Some guides recommend drilling partially from one side and finishing from the other for thick sheets (e.g., thicker than 10 mm).
- Once the hole is made, withdraw the bit while it continues to rotate to avoid snagging.
Specific considerations for acrylic vs polycarbonate
For Acrylic:
- Leave protective film on.
- Use a backing board under the sheet.
- Drill at least approximately. 2× the sheet thickness away from the edge to reduce the risk of cracking.
- Use slower speeds, moderate pressure.
- Clear away chips and debris frequently to avoid scratching the surface.
- Because acrylic expands more with temperature, avoid excessive heat build-up by drilling smoothly and cooling if necessary.
- Make allowances for expansion when installing fixings, especially in outdoor or hot environments – .5/1mm allowance.
For Polycarbonate:
- Leave protective film on.
- The material is tougher and more flexible, meaning it will tolerate some abuse but does scratch more easily than acrylic.
- Use a blunt drill bit or preferably a carbide-tipped/PCD bit for best edge quality.
- Because polycarbonate expands more with temperature, avoid excessive heat build-up by drilling smoothly and cooling if necessary.
- Make allowances for expansion when installing fixings, especially in outdoor or hot environments – .5/1mm allowance.
Common mistakes and how to avoid them
- Drilling too close to an edge – increases cracking and reduces strength. Ensure an adequate margin (15 mm or more) from the edge.
- Using a brand-new ultra-sharp metal bit – tends to tear the acrylic and polycarbonate rather than cut cleanly. Better to use a bit that’s broken-in.
- Drilling at high speed – heat build-up melts plastic, leading to rough edges and poor finish. Use moderate/low speed.
- Insufficient backing support – no sacrificial board beneath = breakout and cracked holes.
- Over-tightening screws/fixings in holes – plastics expand/contract with temperature; overtightening stresses the hole and material can crack.
Installation and post-drilling tips
- After drilling, clean up the piece: remove the mask/film, wipe dust off, inspect the edges of the hole.
- Consider using washers for fixings through drilled holes to spread pressure and reduce stress. Especially important for acrylic.
- For outdoor installations or high-temperature environments, allow for expansion and contraction of the plastic sheet; avoid fixings that bind the material rigidly.
- If the hole edge is slightly rough and you want a clean appearance, polish it with a fine-grit cloth or a plastic polish suitable for acrylic.
- Store off-cuts or unused panels flat, supported and away from direct heat or UV to preserve their integrity.
Why trust Regency Plastics?
At Regency Plastics, we’ve been supplying and fabricating plastics in Melbourne and across Australia for many years. Our expertise covers acrylic (Perspex), polycarbonate, and a wide range of engineering plastics.
We support domestic and commercial projects, offering cut-to-size service and guidance on fabrication. By following the drilling guidelines above, you’ll avoid issues and achieve professional outcomes.
If you’re buying acrylic or polycarbonate sheets from us and drilling them yourself, feel free to call us on 03 9761 4452 or email sales@regencyplastics.com.au if you’d like advice specific to your application.
Reach out today and let's create the perfect solution together!
Our Instagram Handleregencyplastics
Regency Plastics is your one stop shop for all your plastic needs, with our laser cutter, CNC router and panel saw with cut to size options.
